Are you diving into the world of Raspberry Pi and wondering how to access it remotely? Well, buckle up, because we’re about to take you through the ins and outs of the default VNC port Raspberry Pi. Whether you’re a tech enthusiast or just someone looking to control your Pi from anywhere, this guide’s got your back. We’ll cover everything from setting up VNC to troubleshooting common issues, all while keeping it simple and fun!
Remote access is one of those game-changers in the tech world, and when it comes to Raspberry Pi, VNC stands out as a powerful tool. If you’ve ever wondered what makes VNC so special and why the default VNC port Raspberry Pi is essential, you’re in the right place. This article will break it down step by step, ensuring you’re not only informed but also ready to roll with your Pi projects.
Before we dive into the nitty-gritty, let’s clear the air. The default VNC port Raspberry Pi uses is 5900, but there’s a lot more to explore. We’ll also look at why this port is important, how to change it if needed, and how to secure your connection. So, whether you’re a seasoned pro or a newbie, there’s something here for everyone. Let’s get started!
Understanding the Default VNC Port Raspberry Pi
Alright, let’s start with the basics. The default VNC port Raspberry Pi uses is 5900. But why this number, you ask? Well, it’s kind of like a doorbell for your Raspberry Pi. When you want to remotely access your Pi from another device, this port is the entry point. Think of it as the address where your VNC server is waiting to greet you.
Now, the cool thing about VNC is that it allows you to see and control your Pi’s desktop environment just as if you were sitting right in front of it. This makes it super handy for managing projects, troubleshooting, or even just tinkering around. Plus, with the default port set, you don’t need to mess with extra configurations—plug and play, baby!
Why the Default Port Matters
Here’s the deal: the default VNC port Raspberry Pi uses isn’t random. It’s part of a broader standard used by VNC across different platforms. This consistency means that if you’ve worked with VNC before, you’ll feel right at home. Plus, sticking to the default port ensures compatibility with most VNC clients out there.
But wait, there’s more. Using the default port also simplifies the setup process. You don’t need to configure firewalls or mess with router settings unless you’re accessing your Pi from outside your local network. And speaking of which, we’ll cover that later in the article. For now, just know that the default port is your friend.
Setting Up VNC on Your Raspberry Pi
Now that we’ve talked about the default VNC port Raspberry Pi, let’s get into how to set it up. It’s easier than you think, and I promise it won’t involve any complicated jargon. Here’s a quick step-by-step guide:
- First, make sure your Raspberry Pi is up and running with the latest version of Raspberry Pi OS.
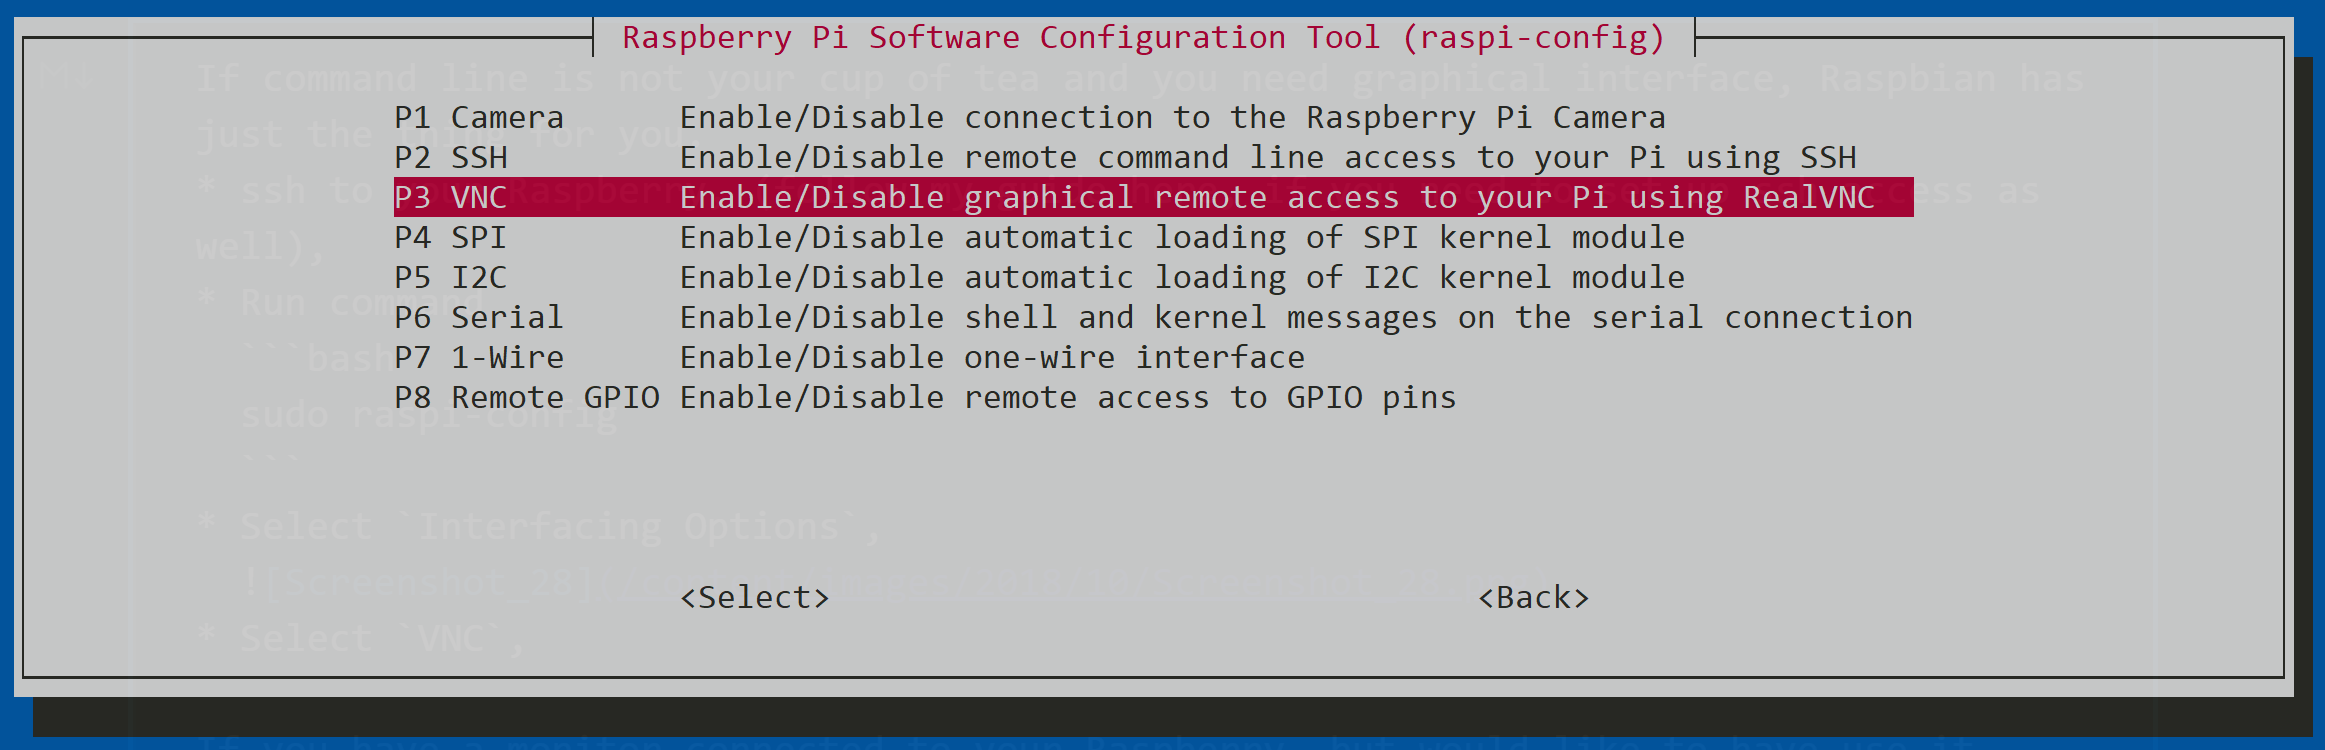
- Next, head over to the Raspberry Pi Configuration tool. You can find this in the Preferences menu.
- Once there, navigate to the Interfaces tab and enable VNC. Boom, you’re done with the basic setup!
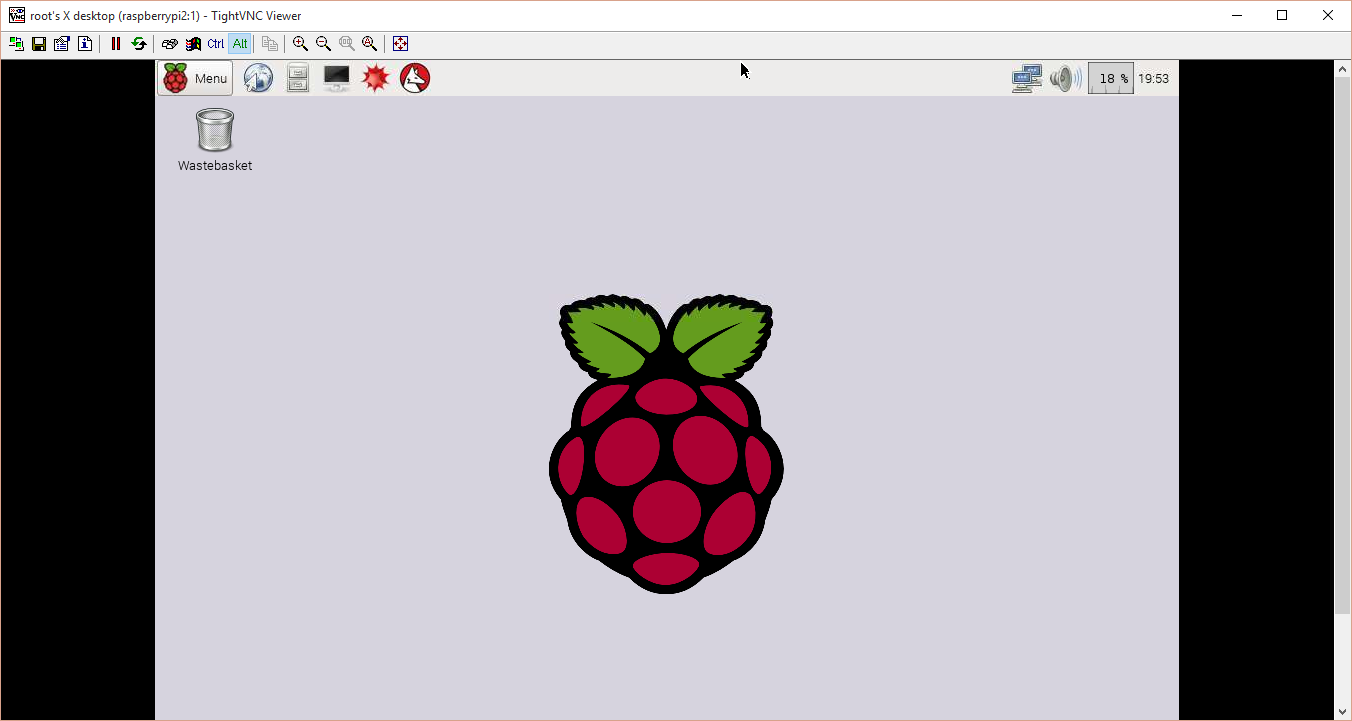
But hold up, there’s one more thing. If you’re planning to access your Pi from another computer, you’ll need a VNC client. There are tons of options out there, but RealVNC Viewer is a solid choice, especially since it’s optimized for Raspberry Pi.
Troubleshooting Common Issues
Let’s face it; things don’t always go as planned. If you’re having trouble connecting to your Raspberry Pi via VNC, here are a few tips:
- Double-check that VNC is enabled on your Pi.
- Ensure both devices are on the same network.
- Verify that no other programs are using port 5900.
And if none of these work, don’t panic. There are plenty of online forums and communities where Raspberry Pi enthusiasts hang out. Chances are, someone’s already solved the issue you’re facing.
Security Considerations for VNC
Security’s a big deal, especially when you’re talking about remote access. The default VNC port Raspberry Pi uses might be convenient, but it’s also a potential entry point for hackers. That’s why it’s crucial to take some precautions:
- Use strong passwords for your Pi’s user account.
- Consider changing the default port to something less predictable.
- Enable encryption if your VNC client supports it.
Remember, security is all about layers. By combining these measures, you’ll significantly reduce the risk of unauthorized access. And hey, peace of mind’s worth its weight in gold, right?
Changing the Default VNC Port
Sometimes, changing the default VNC port Raspberry Pi uses can be a good idea. Maybe you’re running multiple VNC servers, or perhaps you just want to throw off potential attackers. Here’s how you do it:
First, you’ll need to edit the VNC server configuration file. You can do this using a text editor like nano or vi. Look for the line that specifies the port and change it to your desired number. Just make sure it’s not already in use by another program.
After saving the changes, restart your VNC server to apply the new settings. Easy peasy lemon squeezy!
Advanced Configurations
Once you’ve got the basics down, you might want to explore some advanced configurations. These can help you fine-tune your VNC setup for better performance and security. Here are a few ideas:
- Set up a reverse SSH tunnel for secure remote access.
- Configure a static IP address for your Pi to avoid connection issues.
- Use a firewall to restrict access to the VNC port.
These steps might sound intimidating, but they’re actually pretty straightforward once you get the hang of them. Plus, they’ll give you a lot more control over your VNC setup.
Optimizing Performance
Performance is key, especially if you’re planning to use VNC for intensive tasks. Here are a few tips to keep things running smoothly:
- Adjust the screen resolution to match your needs.
- Enable compression to reduce bandwidth usage.
- Limit the number of simultaneous connections if necessary.
By tweaking these settings, you can ensure that your VNC connection remains fast and responsive, even over slower networks.
Real-World Applications
So, why bother with all this VNC stuff anyway? Well, there are tons of real-world applications where remote access to your Raspberry Pi can come in handy. Here are just a few examples:
- Managing home automation systems.
- Running a media server.
- Developing and testing software projects.
Each of these applications benefits from the flexibility and convenience that VNC provides. Whether you’re tinkering with IoT devices or streaming movies, having remote access to your Pi can save you a ton of time and effort.
Success Stories
There are plenty of success stories out there where people have used VNC on their Raspberry Pi to achieve amazing things. From setting up smart home systems to creating custom gaming rigs, the possibilities are endless. And the best part? With the default VNC port Raspberry Pi, you can do all this without breaking a sweat.
Troubleshooting Tips
Let’s talk troubleshooting one more time because, let’s be honest, it’s an inevitable part of working with tech. Here are some additional tips to keep in mind:
- Check your network settings for any conflicts.
- Ensure your VNC client is up to date.
- Consult the official Raspberry Pi documentation if you’re stuck.
And if all else fails, sometimes a simple reboot can work wonders. Don’t underestimate the power of a fresh start!
Common Mistakes to Avoid
Finally, let’s go over some common mistakes to avoid when working with the default VNC port Raspberry Pi:
- Forgetting to enable VNC in the configuration tool.
- Using weak passwords that can be easily guessed.
- Not securing your network properly.
By steering clear of these pitfalls, you’ll be well on your way to mastering VNC on your Raspberry Pi.
Conclusion
So, there you have it—a comprehensive guide to the default VNC port Raspberry Pi. From setting up VNC to optimizing performance and ensuring security, we’ve covered everything you need to know. Whether you’re a tech wizard or just starting out, VNC is a powerful tool that can take your Raspberry Pi projects to the next level.
Now, here’s the fun part: take what you’ve learned and put it into practice. Experiment with different configurations, try out new applications, and most importantly, have fun! And don’t forget to share your experiences in the comments below. Who knows, you might just inspire someone else to dive into the world of Raspberry Pi and VNC.
So, what are you waiting for? Get out there and start exploring! Your Raspberry Pi’s waiting for you.
Table of Contents